Quick Start
This is a Quick Start Guide for our QWC2 Hosting.
Note that each item is covered in detail in subsequent sections of this documentation.
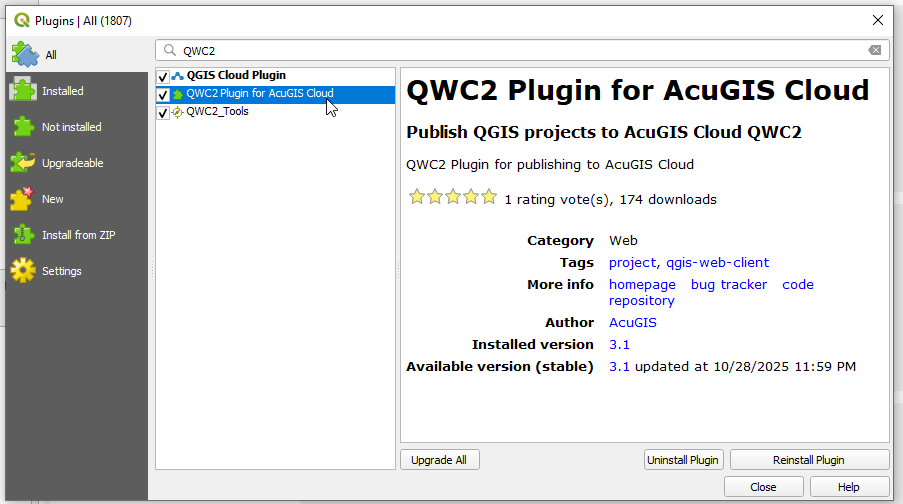
1. Install the QGIS Plugin.
2. Launch Plugin
Launch the plugin by going to Web > QWC2

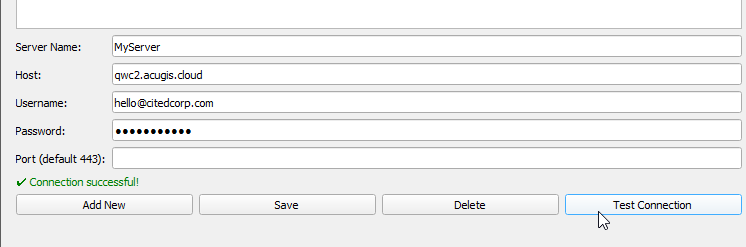
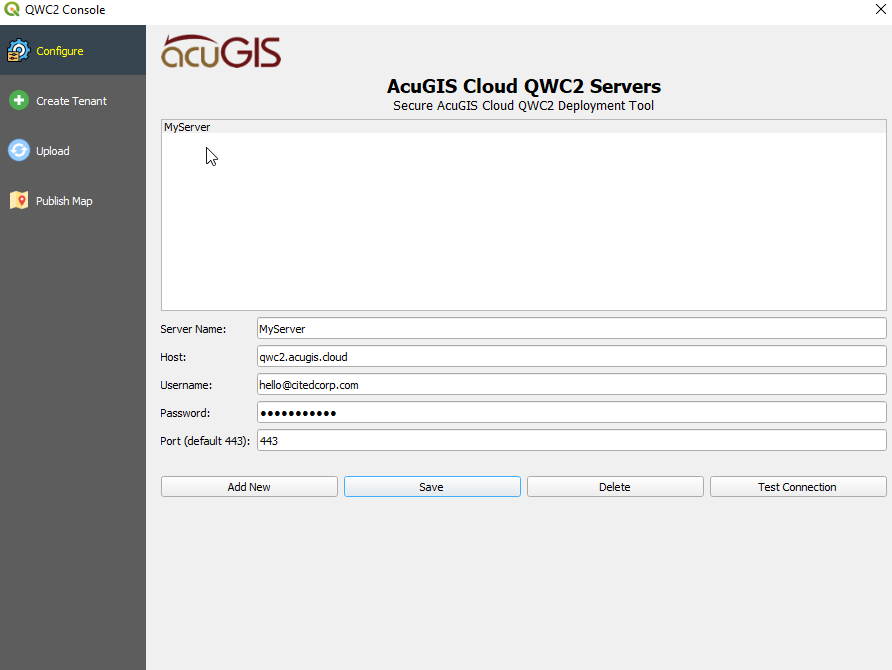
3. Enter Server Information
Click Configure on the left menu and enter your credentials
In the QWC2 plugin, give your server a name
Enter your hostname (e.g. geo.webgis1.com)
Enter your email and password
Click Save
Note
Close the plugin and open it again if the Server is not visible immediately.
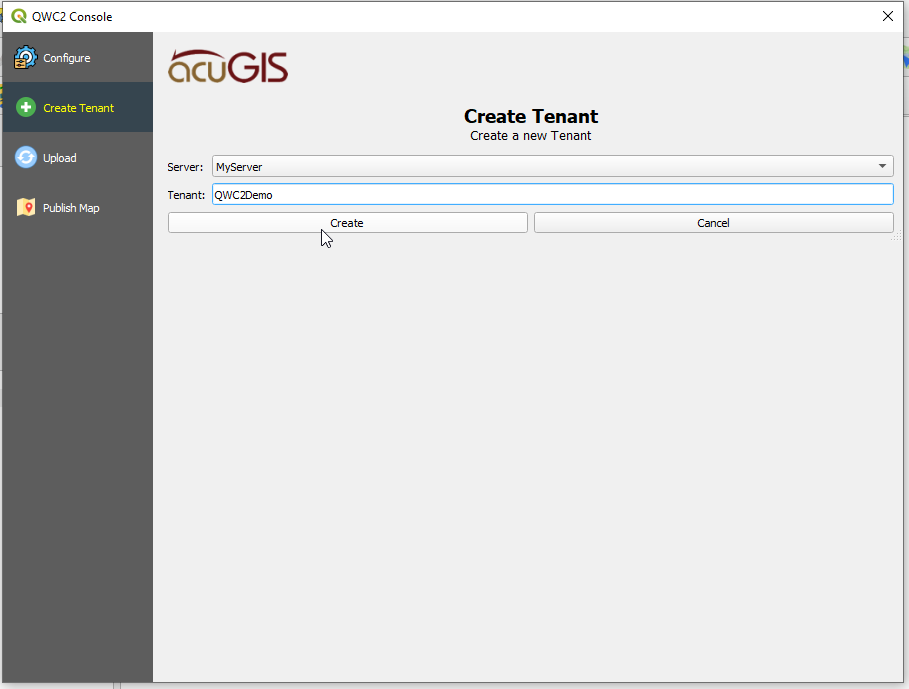
4. Create Tenant (Optional)
While not required, it is strongly recommended to create at least one new Tenant.
Doing so will leave the Default Tenant empty so subsequent Tenants will start cleanly.
Click Tenant on the left menu, give your Tenant and name and click Create
You should see a success message like below

Note
If you have created mutliple Tenants, be sure to connect as the correct Tenant
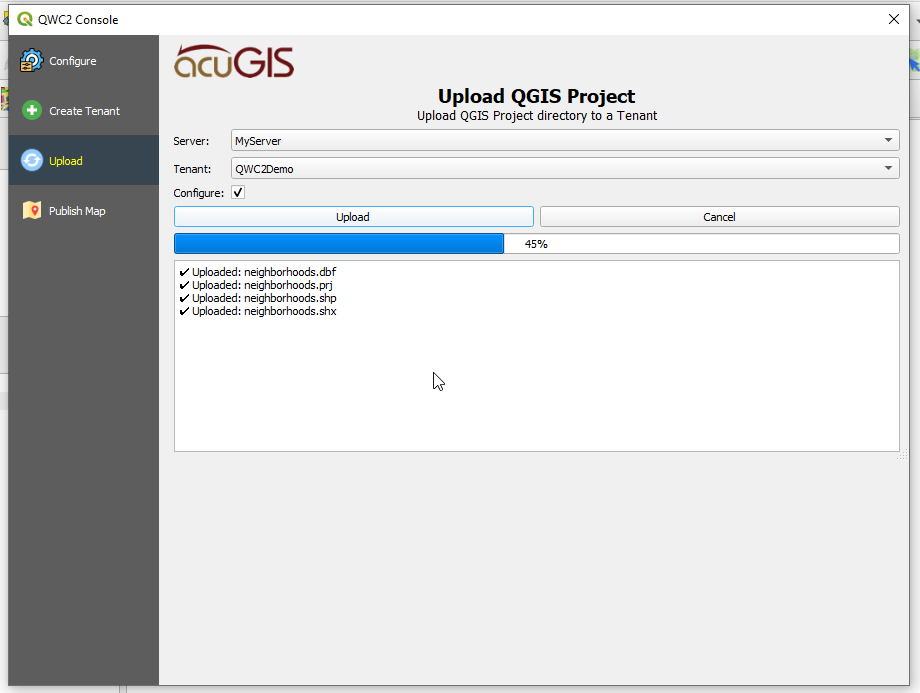
5. Upload
Click Upload on the left menu
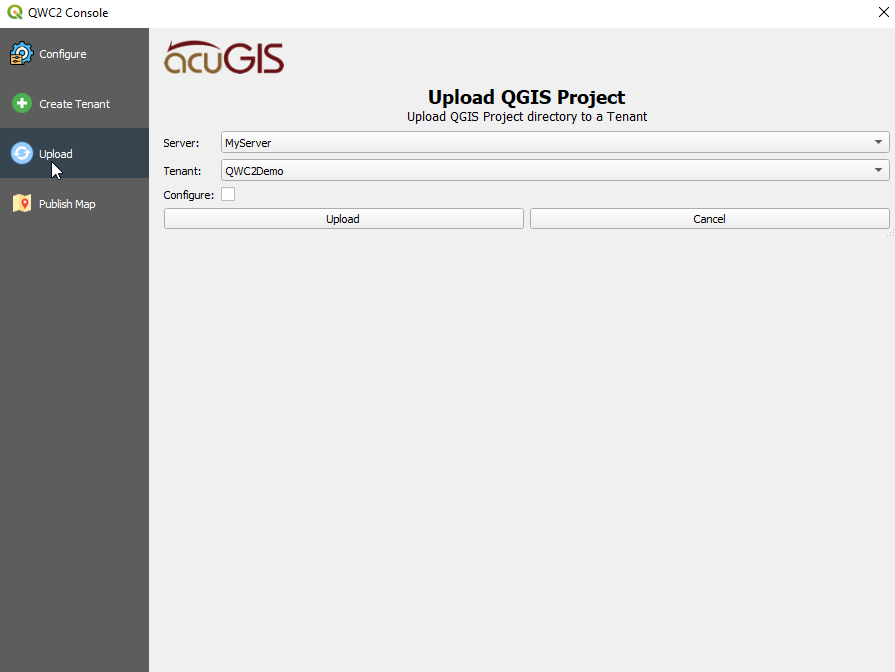
Select Server (if more than one) and Tenant from the dropdowns.
Check the Configure button to automatically run the QWC2 Configure Utility
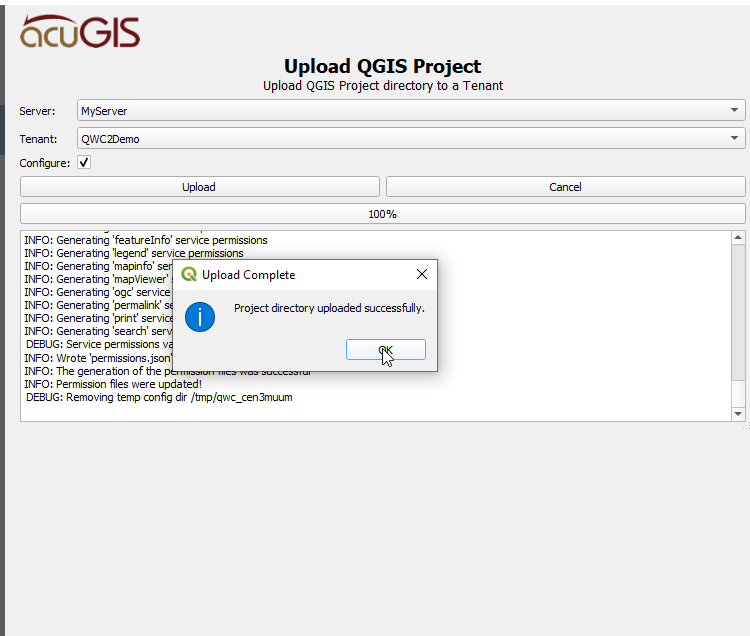
Click Upload
On successful upload it should appear as below
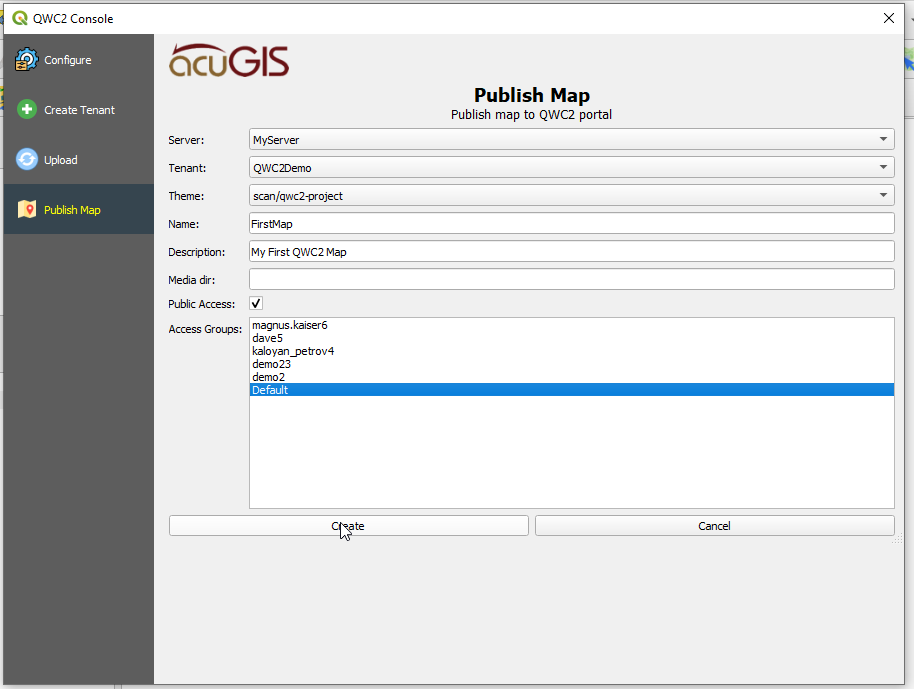
6. Publish
Click Publish on the left menu
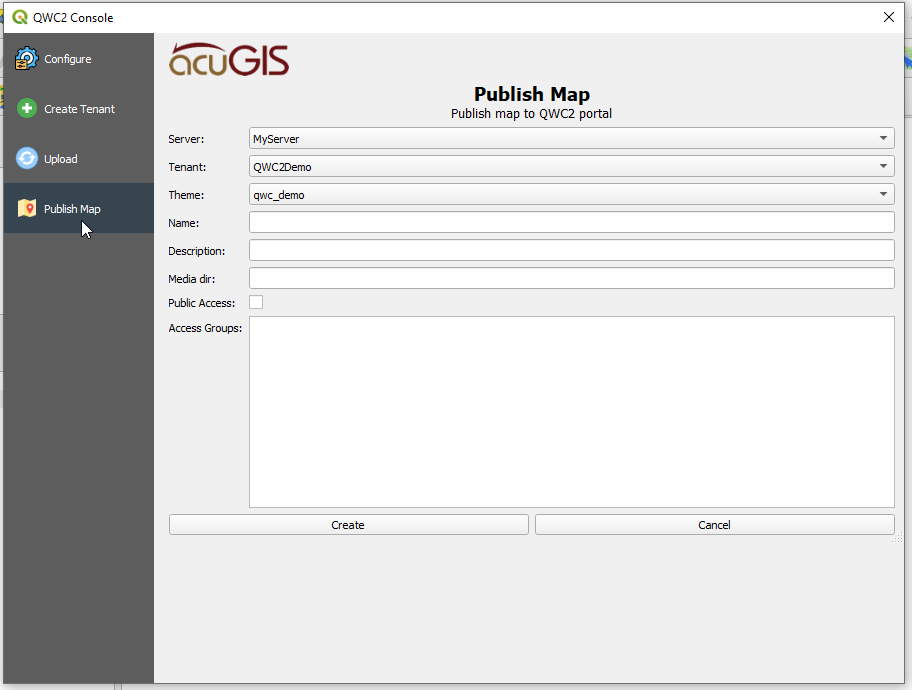
Select Server, Tenant, Theme (QGIS Project). Give your Map a name a description.
Select if Map should be Public or not. If not Public, assign Groups that will have access.
If you have not created any Groups yet, there will be only a Default Group
Note
If you have created mutliple Tenants, be sure to connect as the correct Tenant
You should now see a Success message like below with link to view the published Map
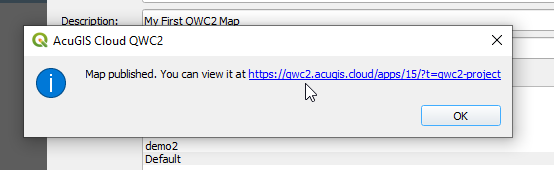
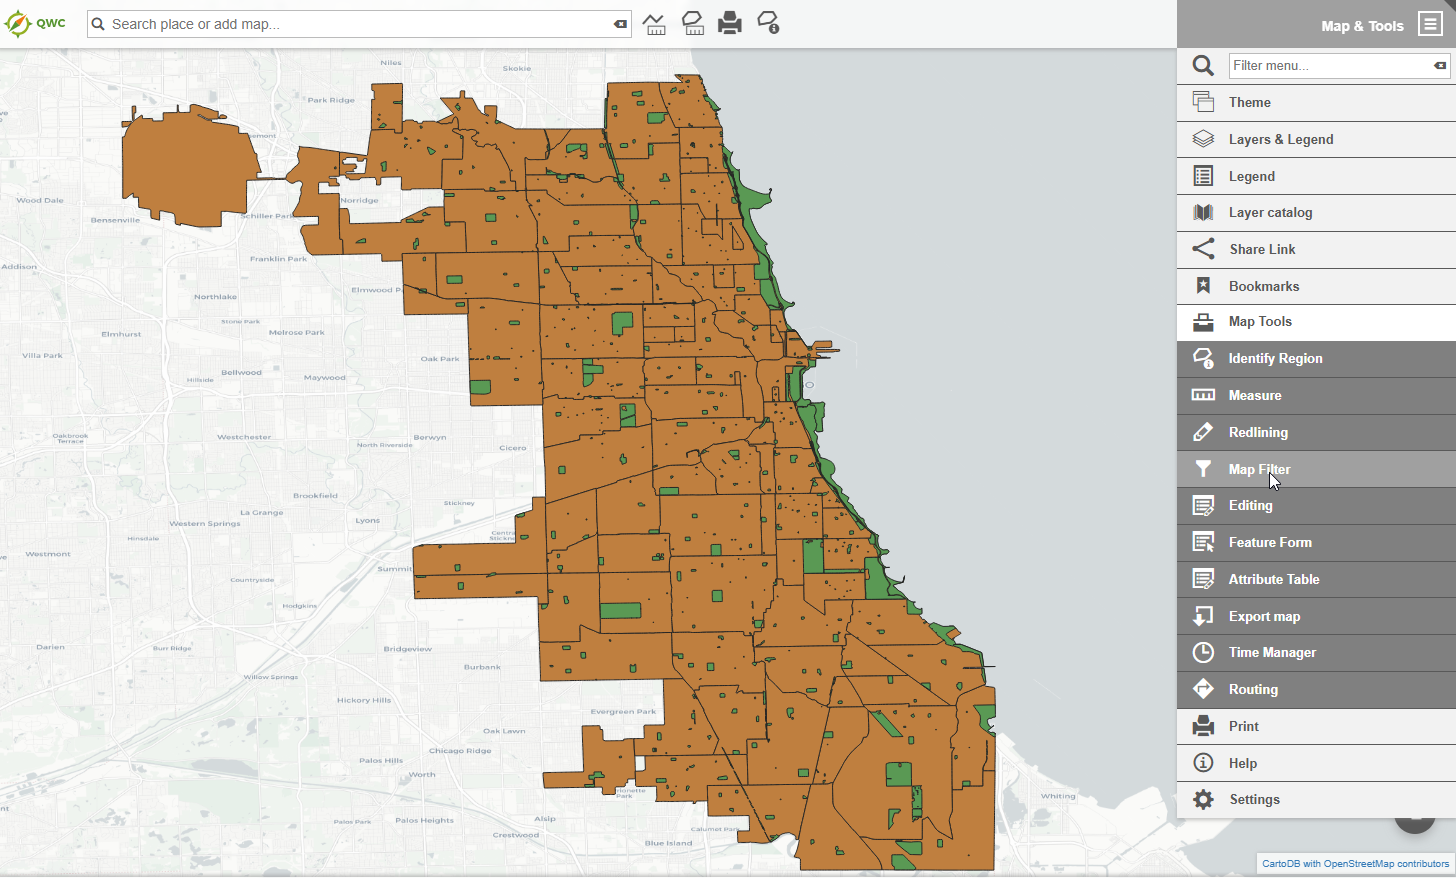
View the Map to verify everything is in oder
Your map has been published!
Note
All settings can be modified via your QWC2 Control Panel after publication as well.